Configuration & Administration
- Permission sets
- DEXPRO Core
- Breeze Interface Setup
- Document Class Setup
- Target Template Setup
- Generic Custom Fields
- OAuth 2.0 setup (for SaaS only)
- Breeze Workflow
Permission sets
In order to use the modules, the appropriate authorization set must be assigned to the respective users.
The following are supplied with:
-
DXP Core Admin - DEXPRO Core Administrator
-
DXP Core User - DEXPRO Core User
- DXP BREEZE Admin - DEXPRO BREEZE Administrator
- DXP BREEZE User - DEXPRO BREEZE User
DEXPRO Core
The DEXPRO Core manages the individual DEXPRO apps and their documents per client.
All documents that have been entered and processed via the various DEXPRO modules in Microsoft Dynamics 365 Business Central are displayed. A global number series, which is used across all DEXPRO apps, is used to complete individual documents. This offers the advantage that users only have to work with one number series per document.
Further information can be found here.
Breeze Interface Setup
In the Breeze Interface setup, processing is set up within the app.
Process
Copy Setup
This copies the setup to other clients.
Navigation
Document class setup
Target Template Setup
General
In this FastTab you can enable/disable the use of this app.

No. Series
The number series for the Breeze Interface documents is stored here.

Document Class Setup
In the document class setup, the mapping between the respective document class and your export interface is done. Furthermore, the field mapping of each document class is downloaded here, creating a set of standard fields and their usage in Microsoft Dynamics 365 Business Central.
The document class setup is cross-app and is managed via the DEXPRO Core.
Process

Download field mapping
This downloads the field structure of the SQUEEZE document class. These are needed for the metadata mapping.
Navigation

Metadata mapping
List
Document classes
This overview lists all the document classes that have been set up.

Card
Document class
Here, each document class is set up individually.
General

In this fastab the name of the document class, the next process step, as well as the automatic enrichment of the positions is set up.
Breeze

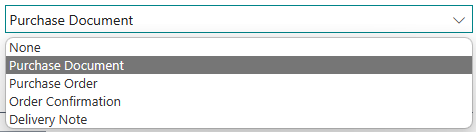
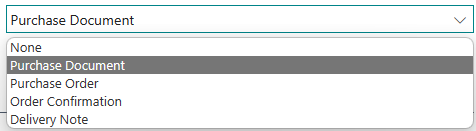
Here you can set the default target template for this document class.
The following are available as standard:
Target Template Setup
Target templates for the Breeze interface are managed here. These templates are available by default:
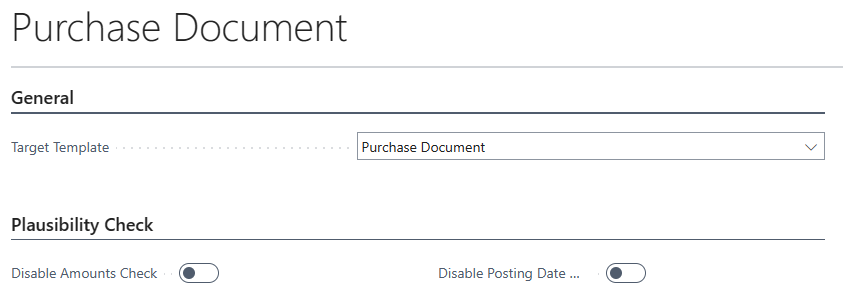
General
Here you can see which target template is currently being edited.
Plausibility Check
Here, certain plausibility checks per target template can be deactivated.
Generic Custom Fields
Customer-specific fields can be added here that extend or deviate from our standard template. This mapping ensures that this additional content is assigned to the right places.

The corresponding BC field is assigned to each technical JSON field name.
On the Breeze side, the fields must be added via the additionalFields.
OAuth 2.0 setup (for SaaS only)
Access to web services in Microsoft Dynamics 365 Business Central (BC) in the SaaS version is only possible via OAuth 2.0. The necessary setup of the app in Azure Active Directory and its link to BC is described below.
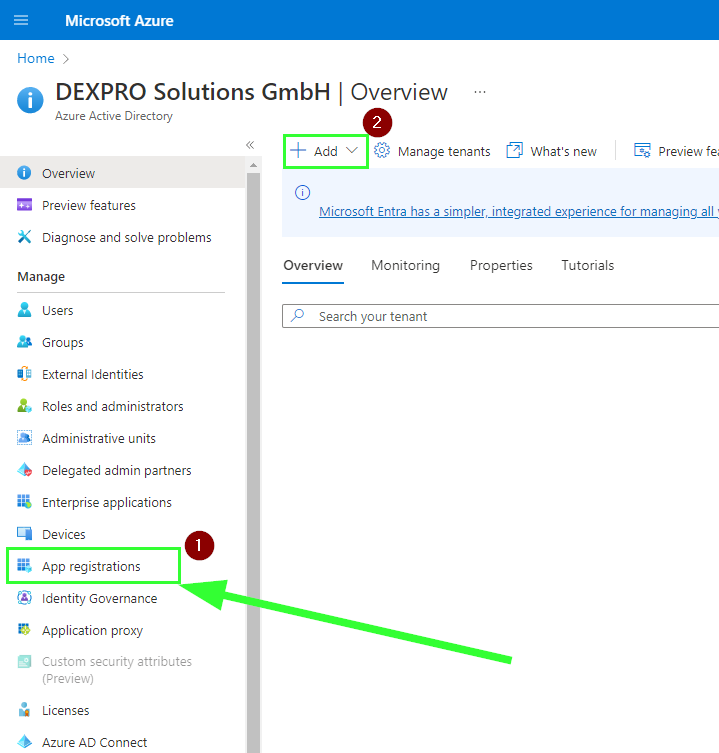
Azure Portal
Launch Azure Portal and open Microsoft Entra ID

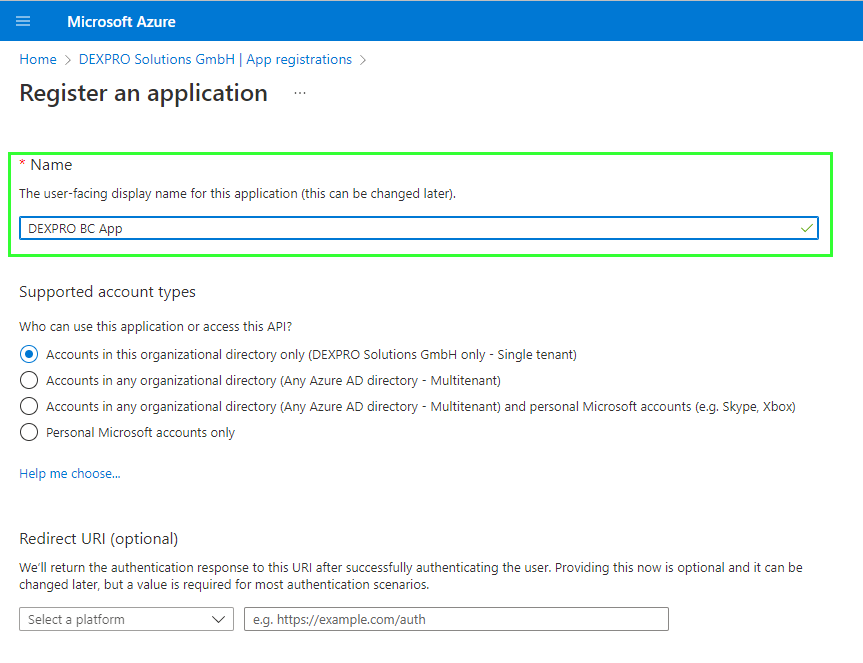
Create a new app under App registrations
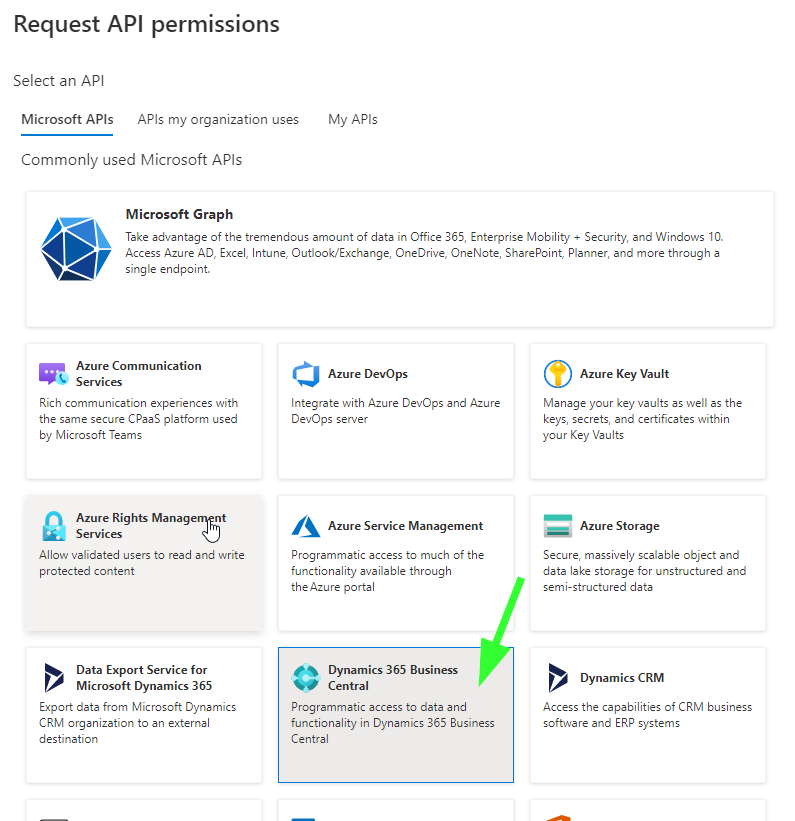
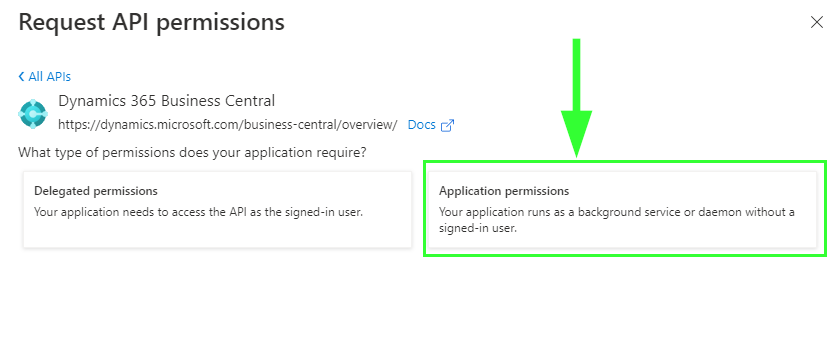
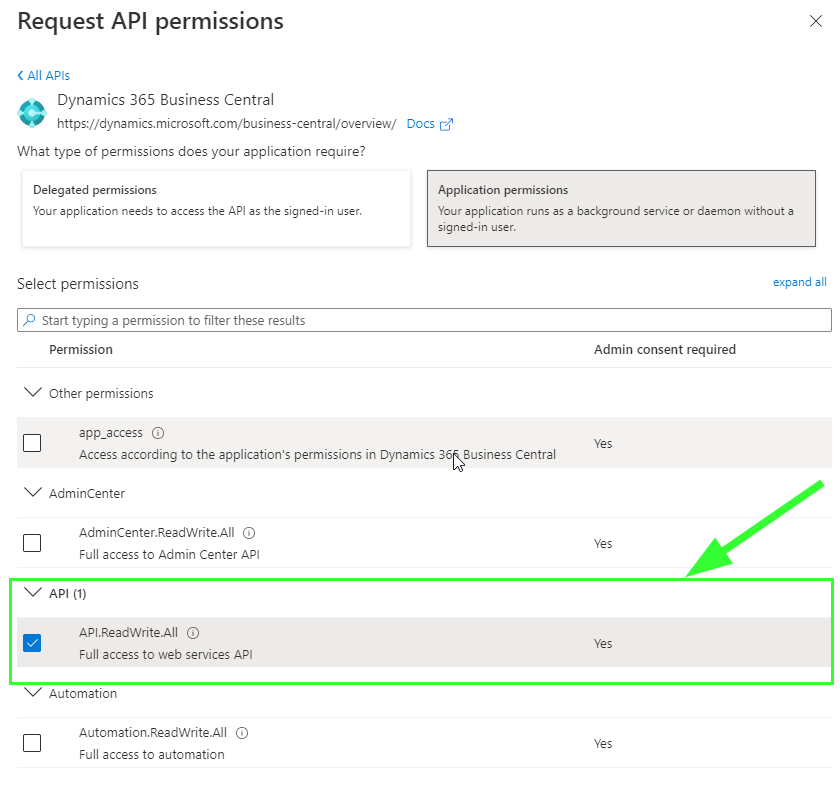
Create API permissions
The Application (client) ID can already be copied and stored at this point (will be needed later)

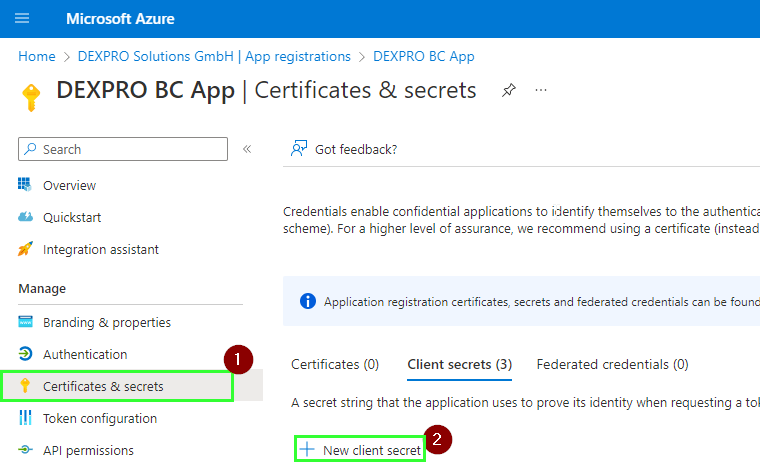
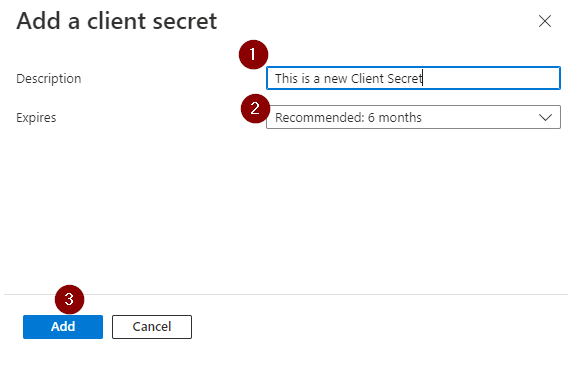
Create Client secret and store it in a secure location
Business Central
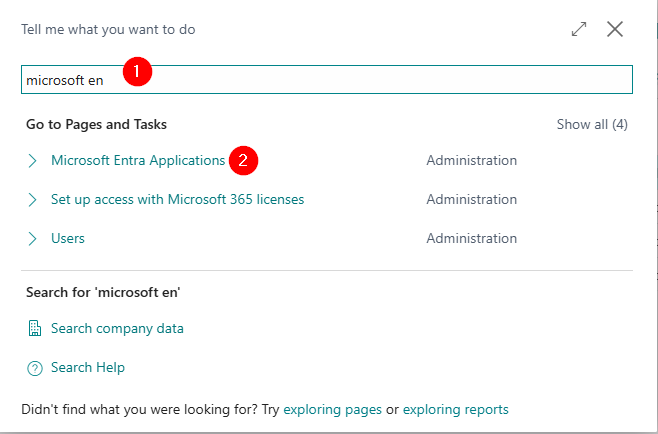
Open Microsoft Entra Applications and create a new entry

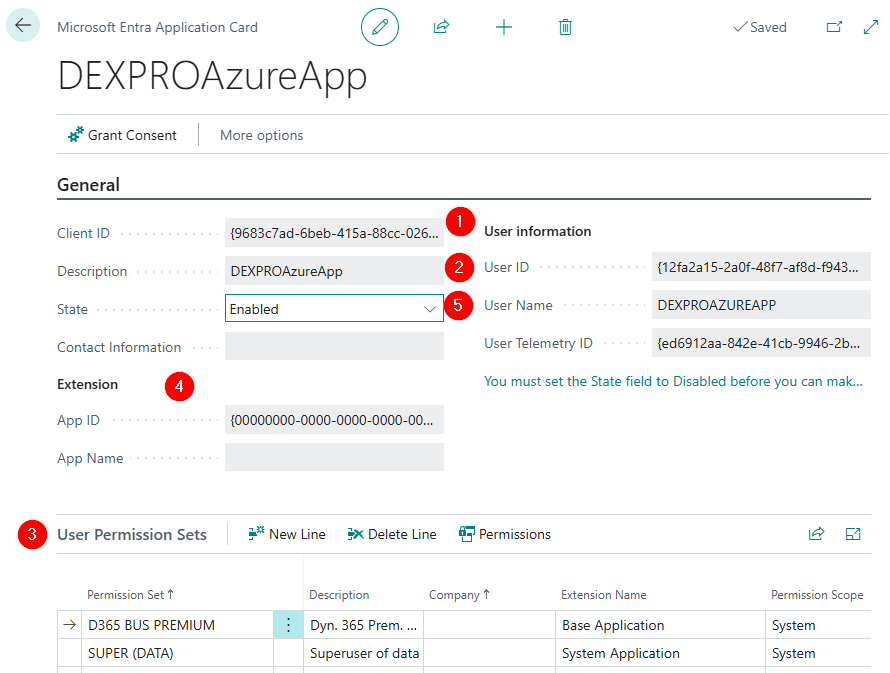
Set up Microsoft Entra Application
- Enter the Client ID
- Enter description (description is a bit misleading. This is rather a user name).
- Assign user permission set(s) individually.
- (Optional)
- Activate application
Breeze Workflow
To connect our Breeze Invoice Workflow to Dynamics 365 BC please read this manual.