
Setup Wizard
When the SQUEEZE setup is opened for the first time, you will be greeted by the SQUEEZE setup wizard.
This assisted-setup wizard guides the user step by step through the basic settings of the module. After completing the wizard, a connection between Microsoft Dynamics 365 Business Central and your SQUEEZE tenant is established. The wizard consists of four steps.
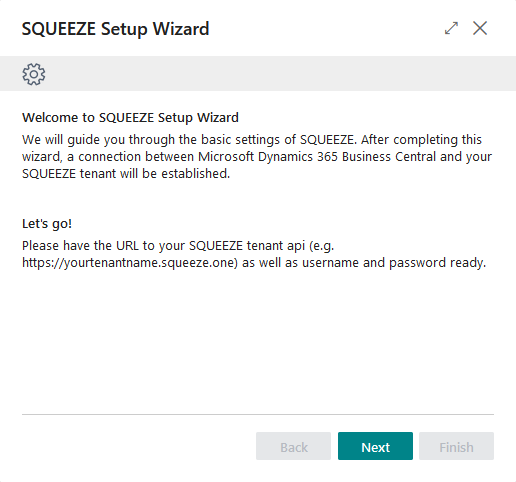
Step 1 - Welcome
The first step welcomes you and explains what the wizard does. Please have the URL to your SQUEEZE tenant API (e.g. https://yourtenantname.squeeze.one) ready before you continue. Click "Next" to start.
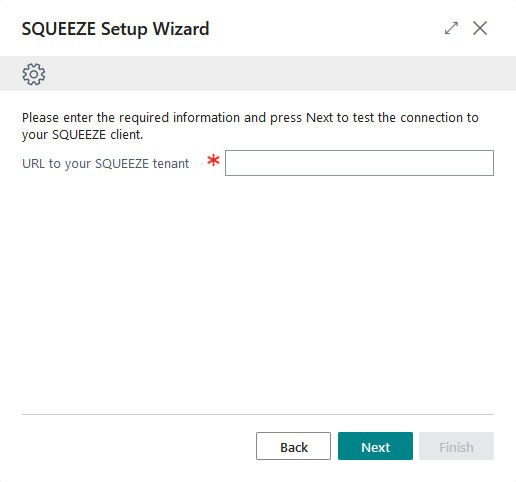
Step 2 - Enter the tenant URL
In this step you enter the URL to your SQUEEZE tenant. This is a mandatory field.
Example: https://yourtenantname.squeeze.one
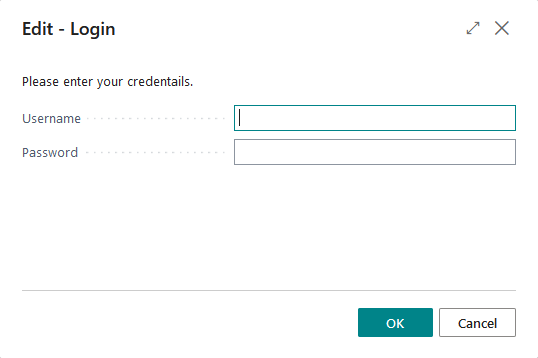
Step 3 - Test connection & configure document classes
When you proceed from the previous step, the wizard tests the connection to your SQUEEZE tenant. Once the connection has been established successfully, you can set up the document classes you want to use directly in this step. The Document Class Setup is embedded here: choose a Document Class, drill down on the Document Class ID, select the correct ID, and then continue to the next step.
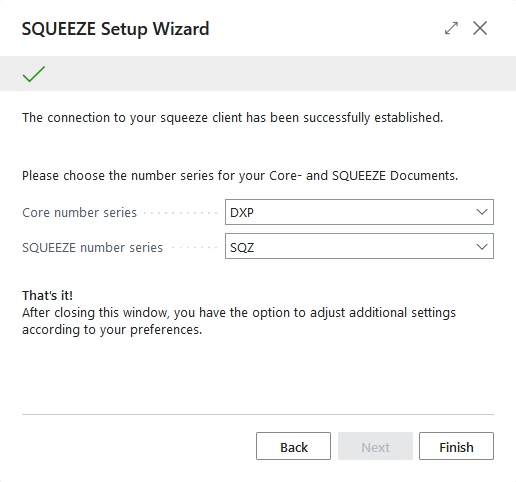
Step 4 - Choose number series
In this step you choose the number series for your Core documents and your SQUEEZE documents. You can use the default number series the wizard created for you, or select your own. Both number series must be set before the wizard can be finished.
Conclusion
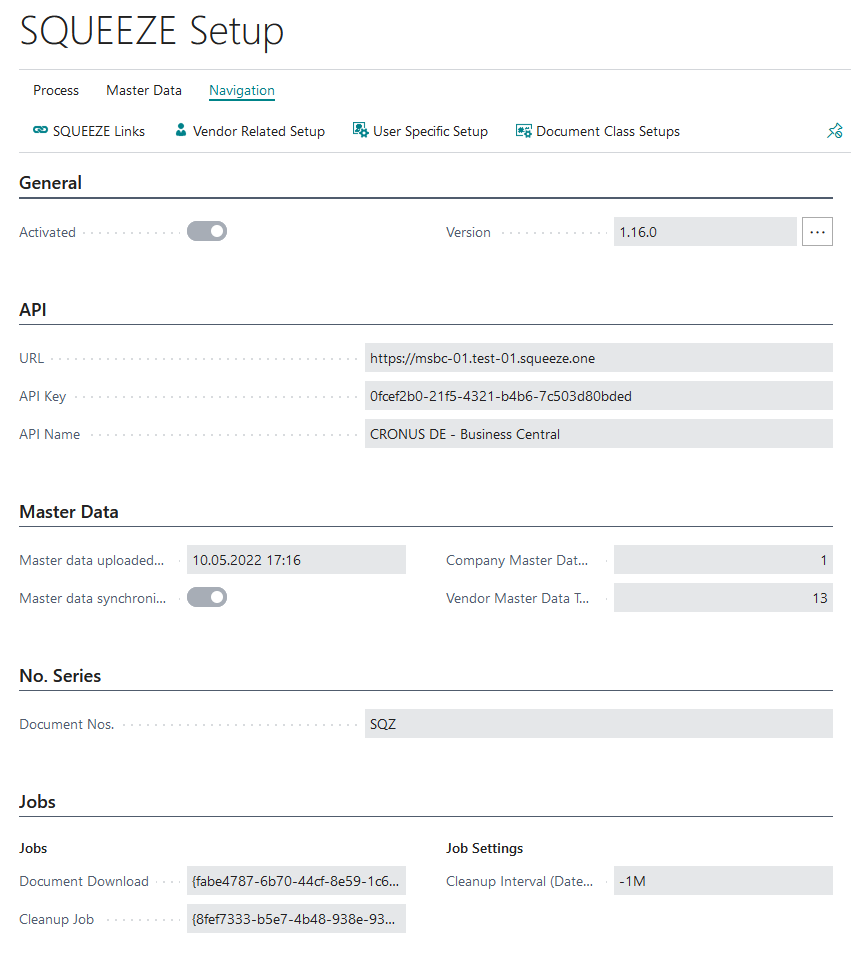
By clicking on "Finish" you end the setup wizard. You are then offered the option to open the Document Class Setups to continue configuring your document classes. Afterwards the SQUEEZE setup is available, where further configuration options are described here.
No comments to display
No comments to display